How to Make Perfect Homemade Focaccia: A Step-by-Step Guide
Making homemade focaccia is more than just a baking task—it’s an art steeped in history, flavor, and tradition. This iconic Italian flatbread is known for its fluffy interior, crispy exterior, and a symphony of flavors that can be tailored to suit any palate. Whether you’re a seasoned baker or a complete beginner, this guide breaks down every detail to ensure your focaccia turns out perfect every single time. From understanding its origins to troubleshooting tips, get ready to dive into the world of authentic, aromatic focaccia baking.
Part 1: Introduction to Homemade Focaccia
What is Focaccia?
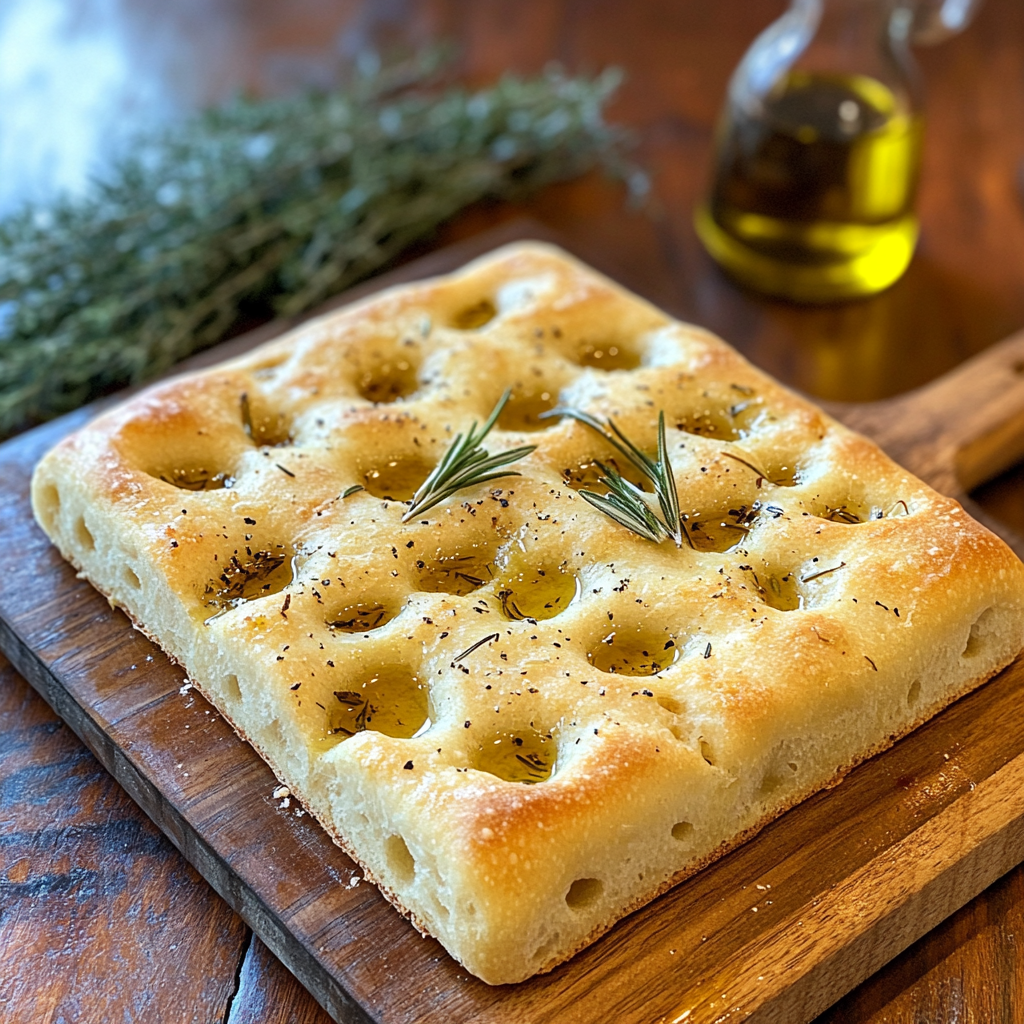
Focaccia, often considered the Italian cousin of pizza dough, is a yeast-leavened flatbread that combines simplicity with endless versatility. Its hallmark features include its airy texture, deep dimples filled with extra-virgin olive oil, and the medley of toppings that can range from simple rosemary to more elaborate variations like tomatoes and olives.
This bread’s versatility makes it a staple in Italian households, where it’s often served as an appetizer, a side dish, or even the base for sandwiches. And the best part? It requires only a handful of ingredients you likely already have in your kitchen!
Why Make Focaccia at Home?
Why settle for store-bought bread when you can whip up your own fresh, aromatic focaccia at home? The benefits of making it yourself are plentiful: you control the ingredients, eliminate preservatives, and customize the flavor profile to your liking. Plus, the process is surprisingly therapeutic. As you mix, knead, and bake, you’ll find yourself more connected to this timeless culinary tradition.
Store-bought focaccia can often be too oily, bland, or loaded with artificial additives. When you make it yourself, you ensure every bite is filled with love, flavor, and authenticity—traits that elevate this simple bread into something extraordinary.
Part 2: Understanding Focaccia
The History and Origin of Focaccia
Ancient Roots
Focaccia’s origins trace back to ancient Rome, where a flatbread known as panis focacius was baked over an open flame or hearth. The term focacius is derived from the Latin word focus, meaning “hearth” or “fireplace,” symbolizing the bread’s connection to warmth and community. This simple yet hearty bread was a staple for Roman soldiers and farmers, serving as a filling and portable meal.
Regional Variations
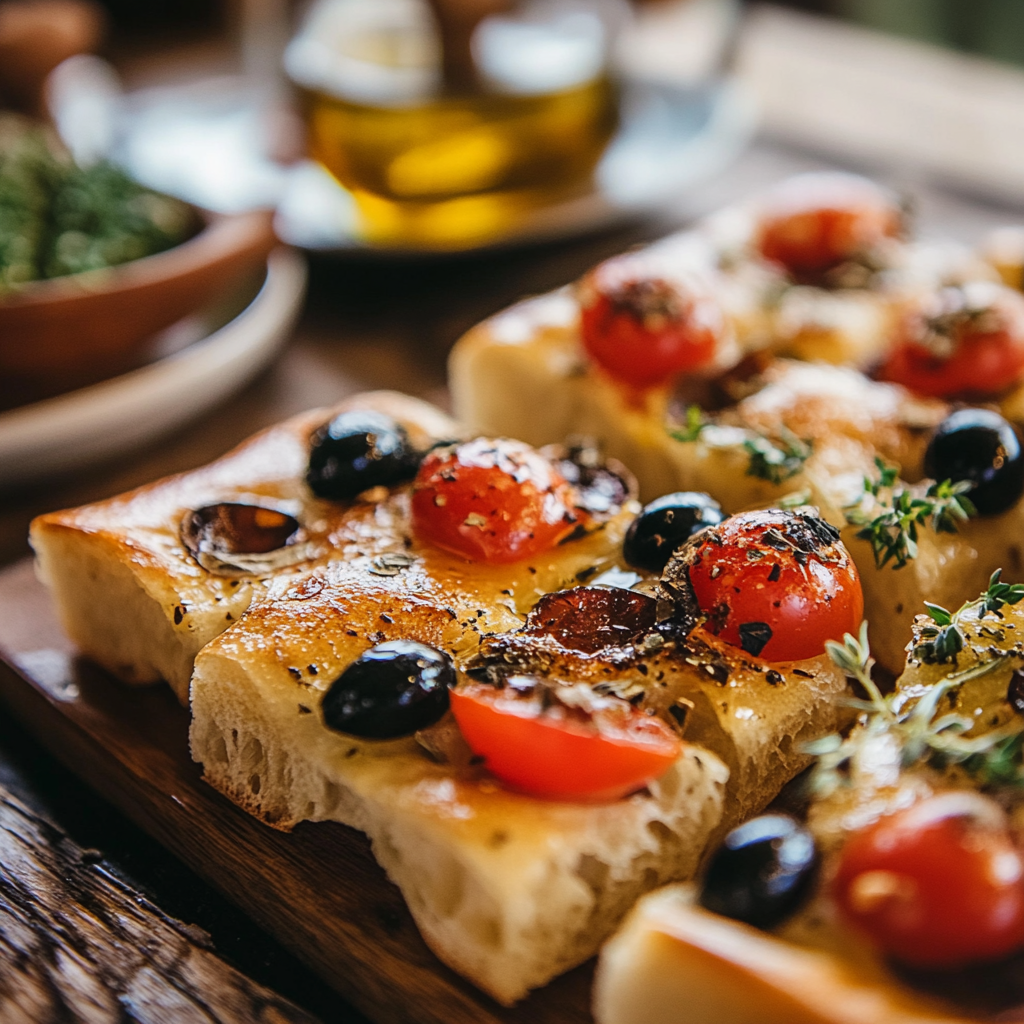
Focaccia is a culinary canvas, and across Italy, its variations are as diverse as the regions themselves. Liguria, the birthplace of Focaccia Genovese, is famed for its thin, crispy version, generously brushed with olive oil and sprinkled with sea salt. Meanwhile, in Puglia, focaccia takes on a heartier form, often topped with tomatoes and olives. Each variation tells a story, offering a slice of Italy’s rich cultural and gastronomic heritage.
Key Characteristics of Perfect Focaccia
Texture and Flavor
A perfect focaccia strikes a delicate balance: a golden, crispy exterior that gives way to a soft, airy crumb. Its texture is defined by the dimples, which trap olive oil, sea salt, and any added toppings, ensuring every bite bursts with flavor. The dough itself should be light yet chewy, a result of proper kneading and fermentation.
Common Toppings and Variations
The beauty of focaccia lies in its adaptability. While a simple drizzle of olive oil and a sprinkle of rosemary is a classic choice, the possibilities are endless. Popular toppings include:
- Herbs: Rosemary, thyme, or oregano for earthy, aromatic notes.
- Vegetables: Cherry tomatoes, caramelized onions, or bell peppers for vibrant flavor.
- Savory Additions: Black olives, capers, or even garlic for a bold, salty kick.
Each topping not only enhances the flavor but also adds visual appeal, making focaccia as pleasing to the eyes as it is to the palate.
Part 3: Ingredients and Equipment
Essential Ingredients for Focaccia
Creating perfect homemade focaccia starts with the right ingredients. While the ingredient list may seem simple, their quality and proportion play a crucial role in achieving that signature airy texture and deep flavor.

Flour Selection
The foundation of any good focaccia lies in the flour. High-protein flours like bread flour or strong all-purpose flour are ideal for creating the dough’s structure. These flours encourage gluten development, which is essential for the bread’s chewy texture. Avoid low-protein flours, as they can result in a dense, less elastic dough.
Yeast Types
Yeast is the driving force behind focaccia’s rise. You can use active dry yeast or instant yeast, but they require different handling. Active dry yeast needs to be proofed in warm water, while instant yeast can be mixed directly with dry ingredients. Whichever you choose, ensure it’s fresh, as stale yeast won’t perform well.
Olive Oil Quality
Olive oil isn’t just a flavor enhancer—it’s a key ingredient. High-quality extra-virgin olive oil imparts a fruity, peppery flavor while helping create that golden crust. Choose an oil with a rich, robust taste for the best results, as it plays a starring role in both the dough and the toppings.
Water and Salt
Water hydrates the flour, activating gluten development, while salt enhances the flavor and regulates the yeast’s activity. Opt for filtered or spring water if possible, as tap water with chlorine can sometimes affect yeast performance.
Necessary Equipment
To achieve restaurant-quality focaccia, having the right tools at hand can make all the difference. While you don’t need a professional setup, a few essentials will streamline the process.
Mixing Tools
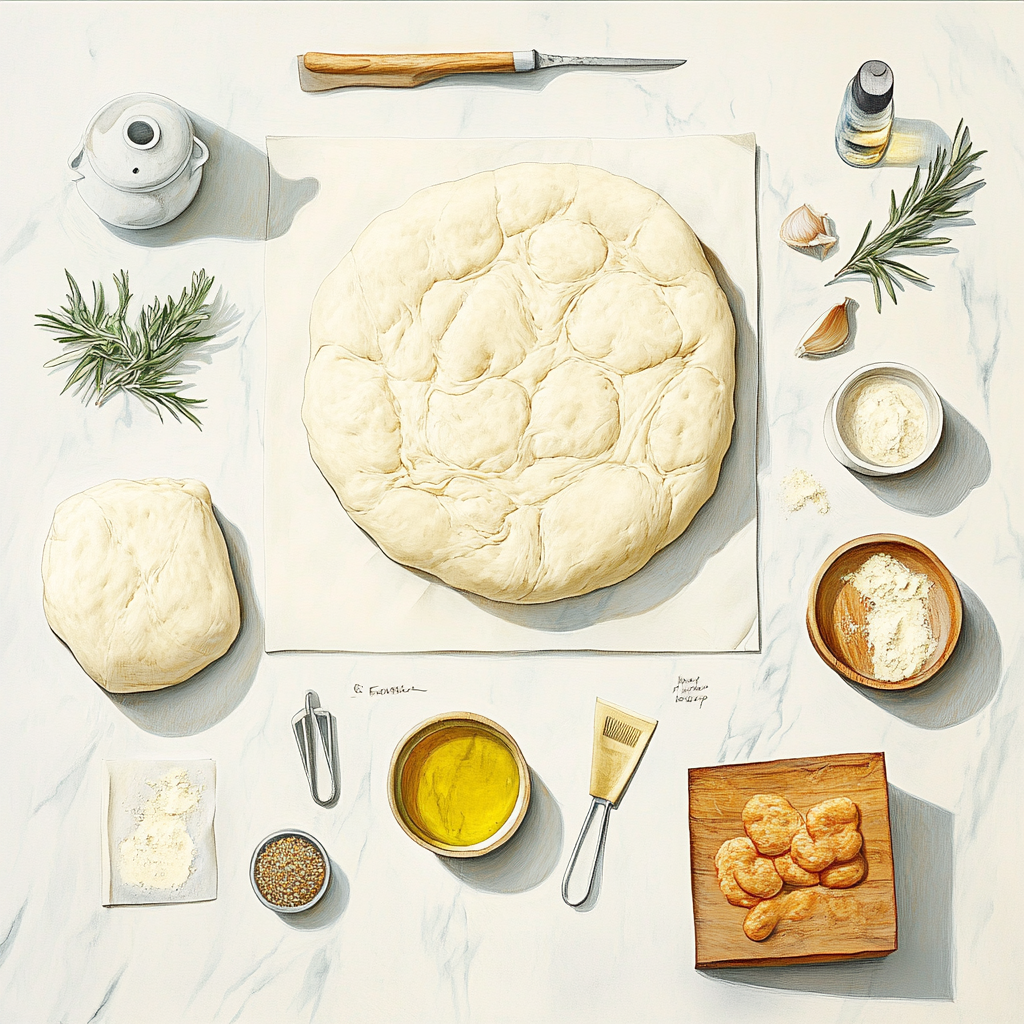
A large mixing bowl is essential for combining your ingredients. For those who prefer minimal effort, a stand mixer with a dough hook attachment can significantly simplify kneading. Don’t have a mixer? No worries—a sturdy spoon and your hands will do the job just fine.
Baking Pans
A heavy-duty, nonstick baking pan or sheet is crucial for even baking. Rectangular pans are traditional, but a round cake pan can also work if you’re experimenting with smaller batches. Metal pans are preferred over glass, as they conduct heat better, ensuring a crisp crust.
Optional Tools
- A kitchen scale for precise measurements.
- A bench scraper for easy dough handling.
- A silicone pastry brush for applying olive oil evenly across the surface.
Part 4: Step-by-Step Focaccia Preparation
Preparing the Dough
Mixing the Ingredients
Making perfect homemade focaccia begins with combining the right ingredients in the correct order. Start by whisking together warm water (around 100°F or 38°C), yeast, and a small pinch of sugar in a large mixing bowl. Allow the mixture to sit for 5–10 minutes until it becomes frothy—this ensures your yeast is active.
Next, add flour, salt, and a generous drizzle of olive oil to the yeast mixture. Using a sturdy spoon, mix until the dough comes together. If you prefer a hands-off approach, a stand mixer with a dough hook attachment can handle this task seamlessly. Once combined, the dough should feel sticky but manageable.
Kneading Techniques
Kneading develops gluten, giving focaccia its chewy texture. If kneading by hand, lightly oil your hands and knead the dough on a clean surface for about 8–10 minutes. Use a folding motion: stretch the dough, fold it over itself, and press down. The dough is ready when it feels smooth and elastic.
For stand mixer users, knead the dough on medium speed for 5–6 minutes. Avoid over-kneading, as this can make the bread dense and tough.
First Rise (Fermentation)
Optimal Rising Conditions
Place the dough in a lightly oiled bowl, turning it to coat all sides with oil. Cover the bowl with a damp cloth or plastic wrap and let it rest in a warm, draft-free spot. The ideal temperature for rising is between 75–85°F (24–29°C). If your kitchen is cold, you can place the bowl in an oven turned off with the light on to maintain warmth.
Time Considerations
The first rise usually takes about 1–2 hours, depending on the room temperature. The dough should double in size. To check if it’s ready, press a fingertip lightly into the dough; if the indentation remains, the fermentation is complete.
Shaping the Dough
Transferring to the Baking Pan
Once the dough has risen, transfer it to a well-oiled baking pan. Use your hands to gently stretch and press the dough into the corners of the pan. Be careful not to deflate the dough too much; a light touch ensures it retains its airy structure.
Creating the Signature Dimples
This step is what gives focaccia its characteristic look. Drizzle olive oil generously over the dough, then use your fingers to press down and create dimples across the surface. These indentations help trap oil and toppings, infusing the bread with flavor and ensuring even baking.
Second Rise (Proofing)
Importance of Proofing
The second rise, or proofing, is essential for achieving the airy texture that defines focaccia. During this stage, the dough relaxes, and the yeast continues to work, creating small gas pockets that contribute to the bread’s lightness.
Timing and Indicators
Allow the shaped dough to proof for 30–40 minutes. It should puff up slightly and appear pillowy. Avoid over-proofing, as this can cause the dough to collapse during baking. Once ready, it’s time for the oven!
Part 5: Baking and Finishing Touches
Baking the Focaccia
Oven Preparation
Before baking, preheat your oven to 425°F (220°C). A properly heated oven ensures your focaccia develops that iconic crispy crust while maintaining a soft, airy interior. If you have a baking stone, placing it on the middle rack can help distribute heat evenly, resulting in a perfectly baked loaf.
Baking Time and Temperature
Place the pan in the preheated oven and bake for 20–25 minutes, or until the focaccia is golden brown. Keep an eye on it during the final minutes—over-baking can dry out the bread. Rotate the pan halfway through for even browning, especially if your oven has hot spots.
Checking for Doneness
To ensure your focaccia is fully baked, look for a golden crust with slightly darker edges. Tap the bread gently—it should sound hollow. Additionally, the bottom should be firm and lightly browned, indicating that the focaccia is cooked through.
Post-Baking Enhancements
Adding Extra Olive Oil
Fresh out of the oven, your focaccia is already a masterpiece, but a finishing touch can elevate its flavor. Drizzle high-quality extra-virgin olive oil over the hot bread, letting it seep into the dimples. This final step adds richness and shine while enhancing the overall taste.
Serving Suggestions
Focaccia is as versatile as it is delicious. Serve it warm as an appetizer with a side of dipping oil infused with garlic and herbs. Use it as a base for sandwiches, or pair it with soups and salads for a hearty meal. It’s also a great snack on its own, showcasing its savory flavors and irresistible texture.
Part 6: Troubleshooting and Tips
Common Focaccia Issues and Solutions
Dense Texture
If your focaccia turns out dense instead of light and airy, the problem usually lies in the kneading or rising process. Under-kneading prevents the gluten network from developing, while a short rise doesn’t allow enough air pockets to form.
Solution: Ensure you knead the dough until it’s smooth and elastic. Let it rise in a warm, draft-free environment for the recommended time, and be patient—good bread takes time!
Insufficient Rise
A flat or under-risen focaccia could indicate inactive yeast or an environment that’s too cold for proper fermentation.
Solution: Always check your yeast’s expiration date and proof it in warm water before mixing. Use a warm spot, like an oven with the light on, to encourage rising.
Overly Dry or Soggy Bread
Dry focaccia can result from baking at too high a temperature or leaving it in the oven too long. Conversely, soggy focaccia often comes from overloading it with toppings or not baking it long enough.
Solution: Stick to the suggested temperature and time. For toppings, avoid excessive moisture by patting ingredients like tomatoes or olives dry before adding them.
Expert Tips for Perfect Focaccia
Flavor Enhancements
Don’t stop at the basics—experiment with flavors to make your focaccia truly unique. Add minced garlic or grated Parmesan to the dough for a savory twist. You can even infuse your olive oil with herbs and spices before drizzling it on top for an extra layer of complexity.
Storage and Reheating
Focaccia is best enjoyed fresh, but you can store leftovers in an airtight container at room temperature for up to two days. For longer storage, freeze it in a resealable bag for up to a month. Reheat it in a 350°F (175°C) oven for 5–7 minutes to restore its crispiness.
Part 7: Frequently Asked Questions (FAQs)
Can I use whole wheat flour instead of all-purpose flour?
Yes, you can use whole wheat flour, but the texture will differ. Whole wheat flour is denser and absorbs more liquid, so your focaccia may not be as light and airy. To maintain a good balance, consider using a mix of whole wheat and bread flour. Add a bit more water during mixing to ensure the dough doesn’t become too dry.
How do I make gluten-free focaccia?
To make gluten-free focaccia, substitute the regular flour with a high-quality gluten-free flour blend that includes xanthan gum for structure. Gluten-free doughs can be stickier, so handle with care and use parchment paper to help with shaping. Note that the texture may be slightly less chewy but still delicious!
What are some popular focaccia toppings?
Classic toppings include fresh rosemary, sea salt, and olive oil. Other popular options are:
- Thinly sliced cherry tomatoes for a burst of sweetness.
- Black or green olives for a salty tang.
- Caramelized onions for a savory touch.
Feel free to experiment with combinations to create your own signature focaccia.
How should I store leftover focaccia?
To keep your focaccia fresh, wrap it tightly in plastic wrap or store it in an airtight container at room temperature for up to two days. For longer storage, freeze individual slices in resealable bags. To reheat, use a preheated oven to restore its texture and flavor.
Can I freeze focaccia dough for later use?
Absolutely! After the first rise, punch down the dough and wrap it tightly in plastic wrap, followed by foil. Freeze it for up to a month. When ready to use, thaw it in the fridge overnight, bring it to room temperature, and proceed with shaping, proofing, and baking as usual.
Why is my focaccia not crispy on the outside?
A soft crust could result from insufficient baking or not using enough olive oil. Baking at a high temperature and generously coating the dough with olive oil before baking ensures a crispy, golden crust.

